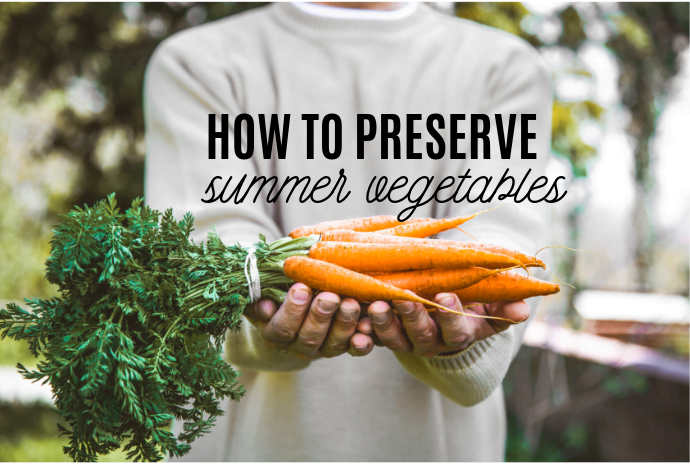
It’s not always obvious how you can pick lots of cherry tomatoes from the garden, then cook enough recipes to avoid food waste. But that’s no reason to give up on the idea of growing your own vegetables or stocking up at the local market so you can eat seasonal vegetables all year round. There are several ways to keep summer veggies longer. Each has its own advantages and disadvantages and a different shelf life, and each has recipes that are best suited to it. That’s why we’ve highlighted 4 preservation methods so that you’ll be ready to harvest a lot.
1. Preserving fresh vegetables
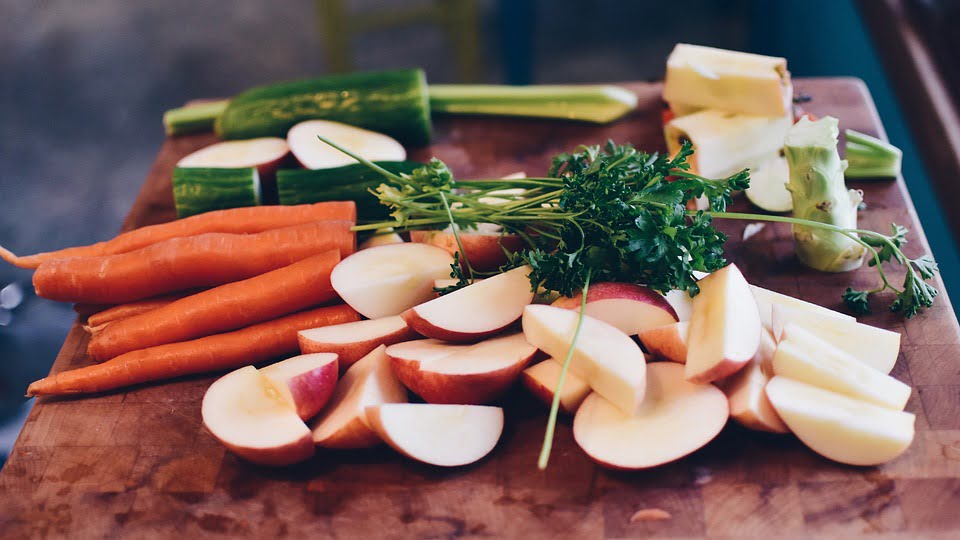
When you buy veggies or pick them directly from your garden, it’s obviously great eating them fresh in a salad or a good vegetized recipe. Some veggies keep a lot longer than others, even in the cupboard. That’s the case for potatoes, squash and root veggies that can last for several weeks in the pantry. The same for onions. On the other hand, leafy vegetables, peppers and zucchini don’t keep that long and have to be refrigerated. You should keep that in mind if you’re preparing a recipe and doing groceries ahead of time.
Read this article to know exactly where to keep each vegetable and for how long.
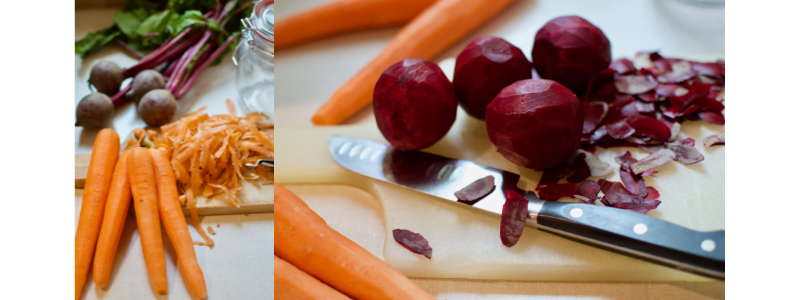
2. Homemade lacto-fermentation
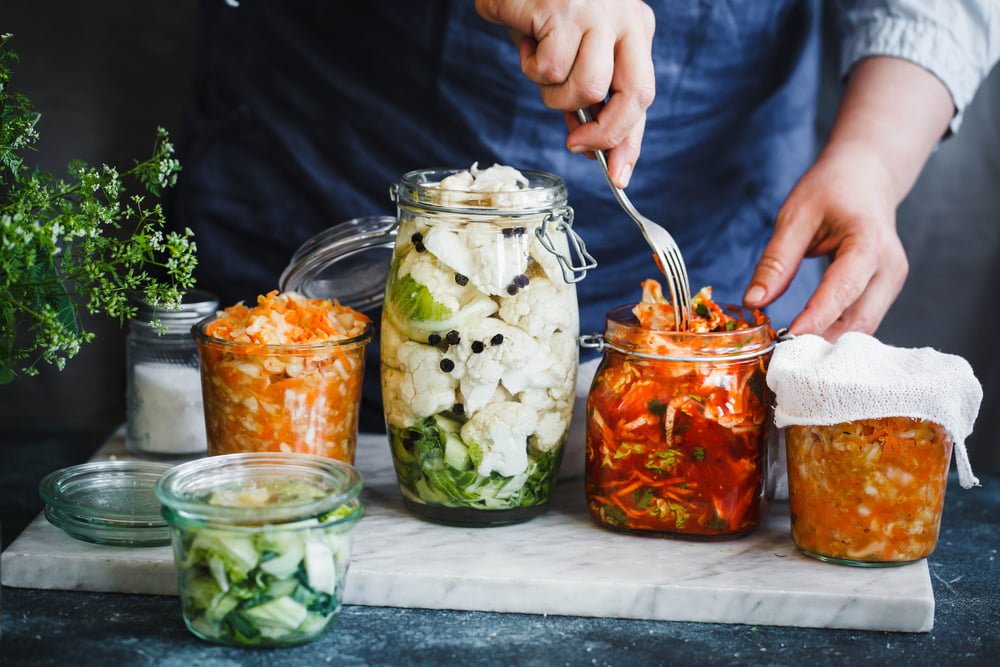
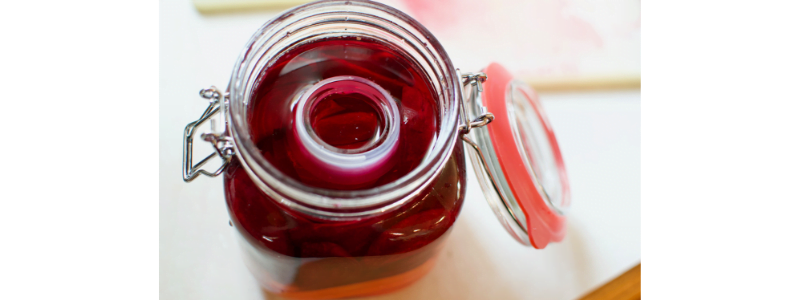
« It’s a process that’s a lot easier than you think and it’s been around for hundreds of years. It’s simply a matter of immersing veggies in a jar of salt water brine without air. »
As there are several veggies that don’t keep that long, it’s good to know long-term preservation methods. And lacto-fermentation is part of that.
What’s lacto-fermentation all about?
It’s a process that’s a lot easier than you think and it’s been around for hundreds of years. It’s simply a matter of immersing veggies in a jar of salt water brine without air. Fermentation occurs when good bacteria like lactic acid is released and enzymes and vitamins multiply. The lactic bacteria that forms during the lacto-fermentation period are, in fact, easily created probiotics. Microorganisms are eliminated and that’s how the jars can be kept for a very long time.
Did you know that since sauerkraut made from lacto-fermented cabbage contains multiplied vitamin C, it’s been proven to be the answer to scurvy on boats during large expeditions? By storing sauerkraut on the boat, James Cook, the English explorer, found the cure for this disease caused by vitamin C deficiency.
Which veggies can be lacto-fermented?
You can lacto-ferment almost anything:
- Cabbage
- Cucumber
- Green beans
- Carrot
- Pepper
- Tomatoe
- Squash
- Zucchini
- Eggplant
- Turnip
- Radish
- Etc.
Basically, pretty much any edible plant.
2. Homemade lacto-fermentation
First of all, even though the idea of letting food ferment can seem counter-intuitive, there really is no need to worry. If you fail your test and microorganisms survive, you’ll see it right away in the pot. Your recipe will have an unappealing colour, smell and taste. If that’s not the case, then your fermentation has succeeded. Lacto-fermenting veggies isn’t an exact science, but there are several basic tips you should follow.
What you’ll need for lacto-fermentation at home:
- Glass jars (several are suitable, but the best are ones with a rubber cap, as well as jars specially designed for lacto-fermentation).
- Organic vegetables that you want to ferment (pesticides sometimes contained in non-organic vegetables can change the taste of fermentation).
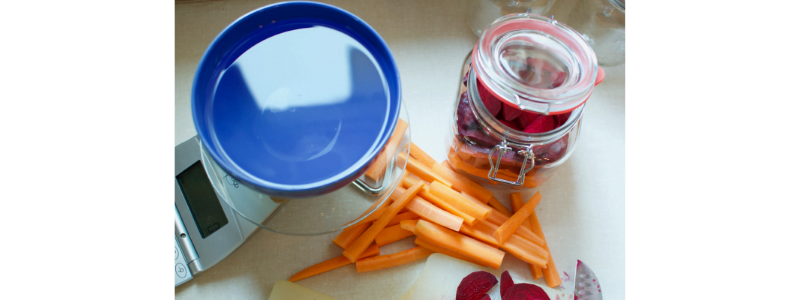
- A scale to ensure you’ve got the right proportions of each ingredient.
- Salted water containing 2% to 4% salt. For example, a litre of water (1,000 g) must contain 20 to 40 grams of unrefined salt, the most natural possible.
- A weight to keep veggies in the liquid, so they don’t come into contact with the air that could cause mould. Jars for lacto-fermentation have one, but if other types of jars, you can use flat (and cleaned) rocks, a small ramekin or anything that keeps the vegetables in place without oxygen.
Follow these steps for good fermentation:
- Peel veggies (as necessary), but don’t rinse them unless they’ll be covered with dirt.
- Cut veggies and put them into the jars.
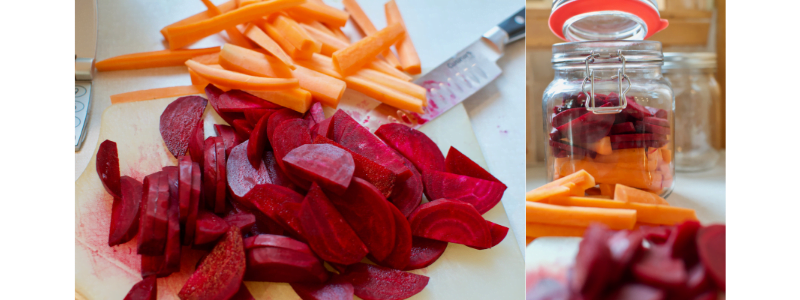
- Prepare a brine containing water and 2 to 4% of its weight in salt. To enhance your recipe, add spices.
- Cover the vegetables with the brine. For fermentation to occur, it’s important that there aren’t any air bubbles because oxygen can ruin everything. If you’re making cabbage or veggies in small pieces, press the veggies towards the bottom of the jar to release the oxygen. Don’t fill the jar up too much. You have to leave some room for the weight and for the emulsion that will occur in the first few days. Leave a 1″ space between the between the brine and the top of the jar.
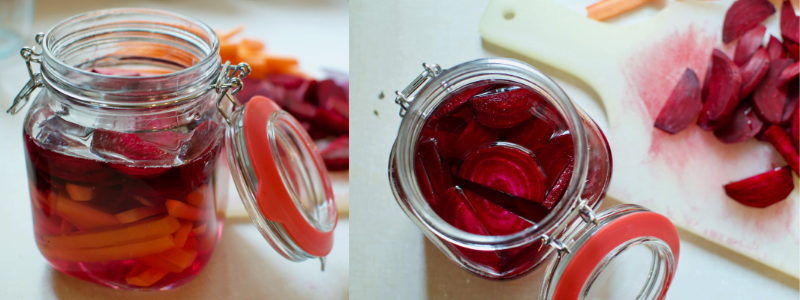
- Making sure that all vegetables are immersed in the brine, place your weight at the top of your jar to hold everything in place.
- Close the jar (but not too tight otherwise it might overflow when you open it) and leave it at room temperature (about 20 oC) for a week. Keep an eye on your mixture. An emulsion is normal and indicates that fermentation is occurring as it should. Loosen the cover occasionally to let air escape.
- After a week, put the jar in a cool place, between 15 °C and 17 °C, if possible, for two weeks. Then it’s time to enjoy your veggies! You can store it in the fridge once the jar has been opened or you can let it ferment a little longer.
Some veggies, like carrots, beets and onions, are better cut into small pieces. If you like this kind of fermentation, there is a difference: contact with salt will cause the vegetables to release moisture, so using water is optional. This is called souring the vegetables. Adding a little water will make them sweeter and crisper. You can:
- Add 1% of the vegetables’ weight in salt.
- Stir vigorously, then let rest for 15 minutes.
- Put the vegetables in the jar and press them down to bring up the air. If the vegetables aren’t completely covered in liquid, add a little water.
- Add weight and ensure the jar is completely filled up to 2 cm from the top.
- Fermentation time is the same as for veggies in brine.
Important tip
To preserve vegetables longer, it’s absolutely essential not to put your fingers in the mixture or put a utensil in twice.
How much time can you keep your fermentations?
The jars can be stored in a cool place for months, even years. It’s up to you to put your fermentation in a cool place with its attained the desired temperature. Containers that don’t have oxygen in them keep much longer. Once you’ve opened the jar, keep it in the fridge for a few weeks. There’s no exact science to know if your vegetables aren’t edible anymore. You have to use your judgement.
Lacto-fermentation without salt – it is possible?
Yes it is, but it isn’t ideal. The salt serves to create a reaction with the bacteria. It doesn’t necessarily make the mixture very salty. Without salt, there’s a risk the fermentation will mould and the preserves won’t keep as long. All the more reason to make lacto-fermentation with salt!
Recipes to inspire you
First of all, lacto-fermented veggies without a specific recipe are good as sides or in salads and sandwiches. If you’re looking to season your veggies in a different way, here are a few ideas:
5 Simple Fermented Carrot Sticks
3. Making homemade preserves
« Making a fail-proof, homemade preserves isn’t magic. Just follow the steps without cutting corners and the delicious summer vegetables will keep for ages. »

Another way of keeping food in jars is canning. The food isn’t preserved in a salty brine like in lacto-fermentation, but instead by the heat and pressure applied to the jar.
Making a fail-proof, homemade preserves isn’t magic. Just follow the steps without cutting corners and the delicious summer vegetables will keep for ages. There are two methods of preserving food, the pot and the pressure cooker, which we explain below.
What you’ll need
- Mason jars
- Flat lids and metal rings (metal rings are reusable while flat lids must be changed each time they’re canned)
- Tongs to grab jars and lids in boiling water (magnetic tools also exist to make it easier)
- A pressure cooker or a pot
Pressure cooker or pot?
A large pot is often the container you have on hand, but it’s not suitable for foods that aren’t acidic enough. When the acidity level is below pH 4.6, a pressure cooker is necessary, but not mandatory, for more acidic foods. Here’s a chart to show you what type of heat is appropriate for the foods you choose:
| Low acidity (pH less than 4.6) – pressure cooker | Acid (pH over 4.6) – pot |
| Corn | Pears |
| Beets | Peaches |
| Carrots | Blackberries |
| Cucumbers | Cherries |
| Beans | Blueberries |
| Celery | Raspberries |
| Squash | Strawberries |
| Cauliflower | Oranges |
| Spinach | Apples |
| Sweet peas | Grapefruit |
| Asparagus | Rhubarb |
| Vinegar | |
| Lemons | |
| Limes |
- Tomatoes are neutral. Their acidity level is about 4.6.
- Some recipes don’t require a pressure cooker as adding vinegar acidifies everything.
Steps for canning
- Blanch veggies if you put them in the pot whole, otherwise, follow the selected recipe.
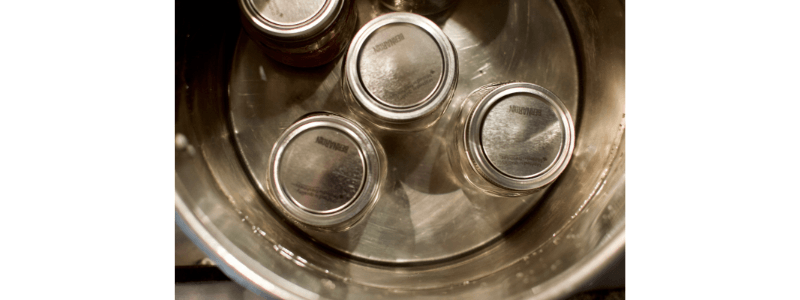
- Clean glass jars: Make sure that jars aren’t cracked and that the rims aren’t damaged. Wash them with soapy water or in the dishwasher, then place upright in a pot. Put water in the jars and pot, then put on medium heat. When the water boils, turn off the heat and leave the jars in the hot water to prevent them from bursting from thermal shock.

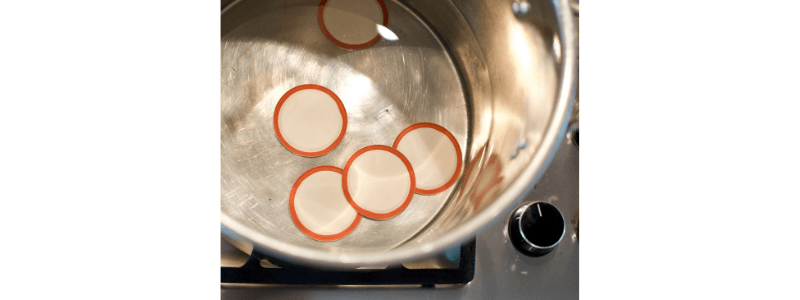
- Prepare the flat lids: Place the lids in a saucepan and heat to boiling without further boiling as this would damage the lid sealant.
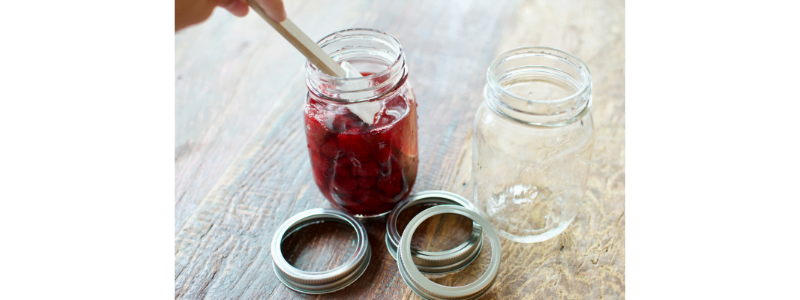
- Fill jars with our recipe: Put hot food into the hot jars. It’s important to leave a small space between the food and the top of the jars as heat can make food expand. Use recent recipes that indicate the space between the food and the lid.

- Remove air bubbles: As in lacto-fermentation, when you want to keep vegetables in small pieces or a recipe for spaghetti sauce for example, you must press the preparations with a small spatula, pestle or other instrument to remove all the air bubbles. If you follow a recipe to preserve whole vegetables, they’ll be immersed in boiling water and won’t contain air.
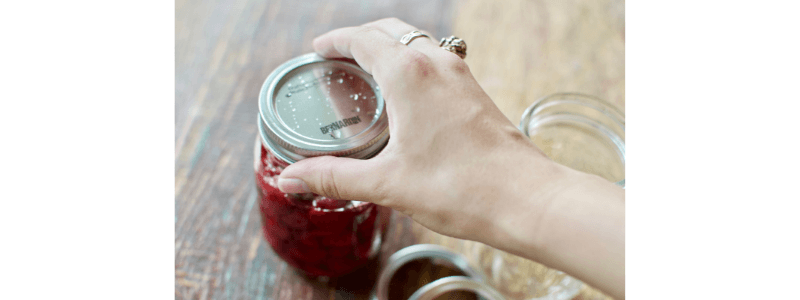
- Close the lids: After ensuring that the edges are clean (otherwise the sealant may not work properly), remove the flat cover and screw in the metal ring. To ensure adequate pressure in the jar, tighten until you feel resistance, then turn once more.
- Treat with heat: Heat the pot or pressure cooker according to the food’s acidity.
- With the pot: Place the jars standing up in the pot you heated them in before. Add more water so that it covers the jars by an inch. Cover and bring to a boil at high heat. You must maintain a rolling boil at all times during the process which changes from one recipe to another.
- For pressure cooking, you must place the jars standing up and add water according to the manufacturer’s instructions. Close as indicated and heat on medium-high until the steam has been escaping for 10 minutes. Then wait till the pressure reaches 10 lbs. before checking the pressure cooker indicator and maintain it for the time indicated in recipe.

- With the pot: Place the jars standing up in the pot you heated them in before. Add more water so that it covers the jars by an inch. Cover and bring to a boil at high heat. You must maintain a rolling boil at all times during the process which changes from one recipe to another.
- Remove jars and let cool: Place the jars onto towels to avoid thermal shock between the hot jars and cold counter that could cause them to burst.

- Store jars in the pantry: You should eat the preserves in the year following canning.
To help inspire you, here are a few recipes to showcase your veggies:
4. Freezing vegetables

Even though lacto-fermentation has long proven its worth, the advent of the freezer has made it possible to freeze vegetables. Very practical for avoiding food waste, it also keeps the taste of vegetables intact when used in a recipe. However, not all veggies can be frozen.
Which veggies can’t be frozen?
Almost all vegetables can be frozen except:
- Cucumber
- Radish
- Sprouts and lettuce
Some veggies can be frozen, but their texture isn’t appealing once cooked, so that’s why it’s better to cook them before freezing. That’s the case for any veggie that’s full of water :
- Zucchini
- Eggplant
- Tomatoe
- Peppers
- Onion
- Mushroom
And that’s why we’ve come up with a new technique to freeze these last three veggies which brought to life our line of products. They’re slightly dehydrated to prevent the thawed product from being saturated with water.
How do you freeze vegetables?
You start by washing the vegetables and cutting them into the size you want. Then, blanch them, meaning plunge them into boiling water for a few minutes, then into ice water to stop the cooking process. This kills all bad enzymes that could change the colour or texture of the frozen veggies.
Vegetables require different blanching times. Here are a few veggies and their blanching times:
| Blanch 2 minutes | Swiss chard |
| Zucchini | |
| Sweet peas | |
| Blanch 3 minutes | Broccoli |
| Carrots | |
| Brussel sprouts | |
| Cauliflower | |
| Spinach | |
| Broad beans | |
| Beans | |
| Parsnips | |
| Rutabaga | |
| Blanch 3 to 5 minutes | Potatoes |
| Do not blanch | Garlic |
| Squash and pumpkin | |
| Onions | |
| Mushrooms | |
| Peppers | |
| Leeks | |
| Tomatoes | |
| Cook before freezing | Beets |
After blanching, it’s important to wring the veggies out before putting them in the proper container. That way, they won’t be covered in ice. You have to fill the containers well because if there’s too much air, the veggies will dehydrate. On the other hand, you shouldn’t fill them up too much because veggies expand while freezing and the containers could crack or burst. Here are some tips on which containers to use:
| Good containers | Bad containers |
| Ice cream bowls or products meant to remain frozen (this type of plastic is made to tolerate cold). | Plastic bowls for products kept in the fridge (such as margarine or yoghurt containers since the plastic isn’t designed to tolerate freezing). |
| Glass or reusable plastic bowls with the snowflake symbol (these are made to go in the freezer). | Reusable containers that aren’t meant to be frozen (don’t have the snowflake symbol). |
| Glass jars with an even wall from top to bottom, provided they aren’t overfilled as they may break. | |
Plastic freezer bags like Ziploc They aren’t the best solution for the environment, but you can use them several times if you wash them between each use. Pro’s trick: If you buy frozen fruits and veggies, keep the bags. They’ll come in handy when you want to freeze your own food and give them a second life. |
Can you freeze cooked vegetables?
As mentioned above, beets can only be kept cooked. In fact, sometimes it’s easier to freeze cooked veggies. For example, it’s possible to freeze raw tomatoes, but they’ll have an unappealing texture after thawing and will have to be cooked to enjoy it. So, putting them in the freezer already cooked makes more sense. This is also the case for water-rich vegetables, such as peppers.
How do you cook frozen vegetables?
To eat frozen veggies, you have to put them directly into the recipe. Sometimes, it’s better to cook them before adding them. It’s better to enjoy them in a recipe because freezing often changes their texture. You can improvise recipes like a clean-out-the-fridge soup. Here are some other recipes to give you ideas:
Slow cooker vegetarian spaghetti sauce
Can you freeze recipes that use frozen veggies?
Yes. For example, you can definitely make a spaghetti sauce with frozen veggies and freeze it afterwards.
Finally, if you want to know more about food preservation, read our article called, Storing Food: 5 mistakes that are made too often.
Keeping summer vegetables for a long time not only allows you to enjoy delicious vegetables past summertime, but also to reduce your environmental footprint by buying local vegetables. You now have several tools that will ensure you’ve got food preservation down pat. So go ahead, give it a try! What will you try first?